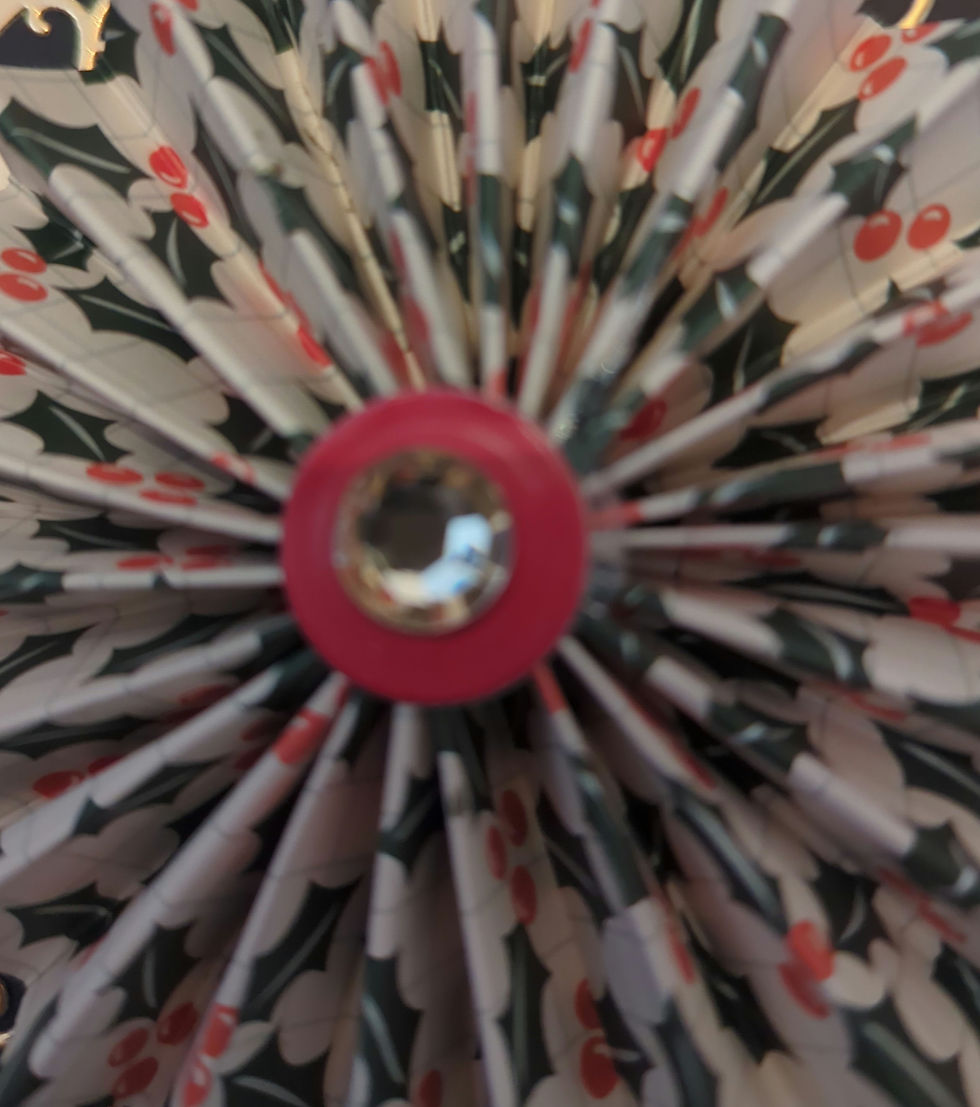
Well I loved making the Rosette Card last week that I shared on our group - (@Create With Craftmania).. I had to make another one.
They may look complicated but are so easy to make.
Let me show you how.
Step 1:
My card base was 8 x 8, as you need plenty of room.
For my Rosette I used a sheet of 12 x 12 paper from the Naughty or Nice paper pack.
I then cut 2 strips 4cm wide and the full length of the paper.

Next using my scoreboard, I scored my strips at half inch increments and then done valley and mountain folds along each of them.
I glued each end together to form a circle.
I turned on my glue gun ready and also cut out a small red circle for the panel to glue the rosette too.

Now with the rosette as in the photo, gently push the sides into the middle and push down.
I turned over my rosette shape and glued a blob in the centre using my glue gun, and then put my red circle on centre top to secure my shape.
I glued a gold gem in the centre of my red circle.

Step 2:
Next I did my card layers using my Stitched Square Die Set.
I did a deep red layer and then a smaller cream layer.
I applied these onto my card using Cosmic Shimmer glue.
I always think red and cream is so fresh together! Reminds me of a raspberry tart lol.
Step 3:
Next I cut out my die layers from the Poinsettia Rings set.
I used a lighter cream than my card layer, a dark green and gold mirri.

I glued together using my fine nozzle glue bottles, as there is a lot of intricate parts on the gold cuts.

Step 4:
I glued the large circle to the front of my card and then used foam tape to add the smaller circle.
To add my rosette to the top layer I cut out a rough circle and glued this to the bottom of the rosette with my glue gun, as this stabilises it so it's flat.
Using my glue gun again, I added my rosette to the centre circle.
Step 5:
From the Poinsettia Ring set I cut 4 corners in gold mirri and glued these onto my card.

I added some small gems to the centre of each corner.

Next I added pearls to the poinsettias on the large ring.
This is my card completed.
I didn't use a sentiment, but of course that's your choice.

I hope you enjoyed my blog and will have a go and do your own version or just follow my own design.
I promise it will be Christmas Free next week as the weather is getting warmer I will make it Summery lol.
Enjoy the rest of your week guys
Ian x
Shopping list
R.R.P £9.99 - Sale Price £2.59 -
Options -
R.R.P £7.99 - Sale Price £1.99 -
R.R.P £4.50 - Sale Price £1.59 -
Other Bargains In This Collection... R.R.P £4.99 - Sale Price £1.59 -
R.R.P £1.99 - Sale Price 69p -
R.R.P £1.99 - Sale Price 69p -
R.R.P £8.99 - Sale Price £3.29 -
R.R.P £1.49 - Sale Price 49p -
R.R.P £1.99 - Sale Price 49p -
Other Project Essentials -


Gorgeous